Everyone has heard about tubeless. Yet it remains a little-known technology, surrounded by all kinds of claims—often contradictory. In this article, I’ll try to demystify it and share my experience as a mountain biker after more than 7 years and over 20,000 km ridden.
What is tubeless?

You all have tubeless tires on your car. It’s the same principle for bicycles: the tire is mounted directly onto the rim, without an inner tube. Most of the time, a liquid sealant (often called “sealant” or “tire sealant”) is added inside the tire—I’ll come back to that later.
Be careful: not all wheels can be set up tubeless. The rim must be compatible—more specifically, it must have an airtight rim tape to prevent air from escaping through the spoke holes, as well as a specific tubeless valve that seals tightly against the rim. Tires must also be designed for tubeless use; these are commonly referred to as “tubeless ready.”
Never try to mount a non-compatible tire!
The benefits of tubeless
First advantage—and for me, the decisive one: fewer punctures.
Small holes caused by thorns (come to Normandy in October after hawthorn hedges have been trimmed, and you’ll know what I mean) are sealed instantly by the sealant. The tire is punctured, yet you don’t even notice it—it’s almost magical.
Pinch flats caused by inner tubes during hard impacts are also a thing of the past. Of course, there are limits: if your tire is badly cut with a large gash, the sealant won’t work and you’ll need to install an inner tube. But even with a tube, you’d have the same issue. For fairly large holes (around 5 to 8 mm), it’s still possible to repair them using tire plugs without even removing the tire.
It’s so reliable that for the past 5 years I’ve been riding without carrying an inner tube at all—only a pump and a plug kit.
Second advantage: you can run lower tire pressures.
This means more grip and comfort without sacrificing efficiency, especially in wet or rough conditions. Personally, at 70 kg, I run 1.3 bar in the front with a 2.25″ tire, or even 1.1 bar with a 2.4″. At the rear, I keep a bit more pressure—around 1.4 bar with a 2.25″. The difference in comfort and control is very noticeable—give it a try!
Third advantage: weight savings.
An inner tube weighs about 150 g, whereas you only add 60 to 80 ml of sealant. It may not seem like much, but we all know every gram counts—especially rotating mass.
Fourth advantage: a slight gain in rolling efficiency, thanks to reduced energy loss from tube deformation and friction between the tube and the tire.
The drawbacks of tubeless
Of course, there are some downsides.
First drawback: installation is more complicated, especially when it comes to getting the tire beads to “pop” into place and achieve an airtight seal during the initial setup. Depending on the tire and rim combination, it can be nearly impossible to mount the tire using only a floor pump. In that case, a compressor with high airflow is required.
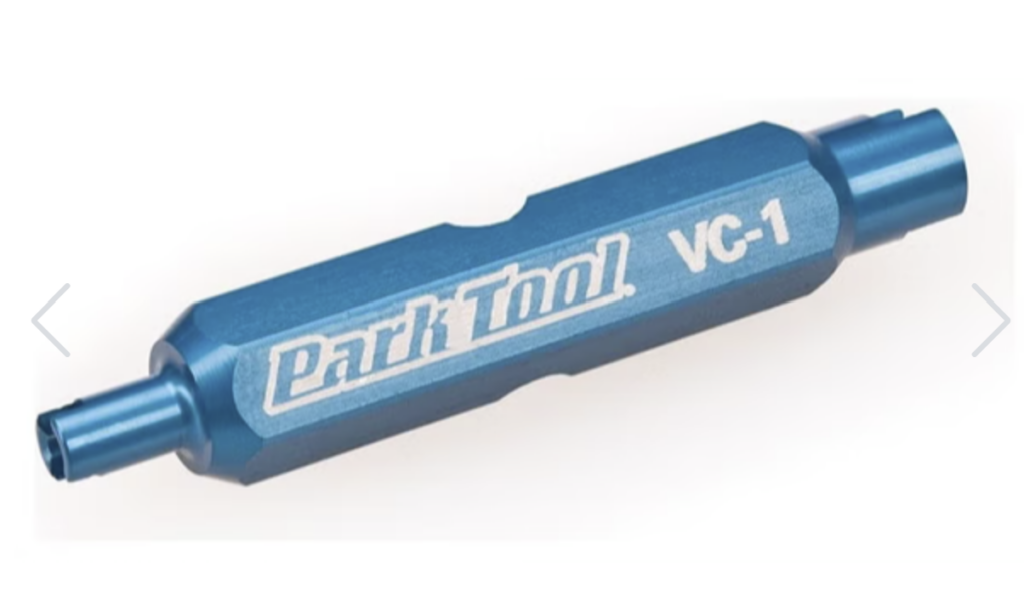
I usually proceed as follows: I mount the tire (making sure the valve is installed). Using a valve core remover, I remove the valve core and inject the sealant with a syringe. I then reinstall the valve core and inflate the tire with a compressor to at least 3 bar. You need to hear the characteristic “pop” as the bead seats on the rim hooks. I spin the wheel a few times so the sealant coats the entire inside of the tire, then deflate to the desired pressure. And that’s it—you’re ready to ride.
Second drawback: airtightness is slightly worse.
There are small, continuous air leaks. In practice, this means you need to check and adjust tire pressure before every ride. I use a fairly precise pressure gauge to adjust pressure to within 0.1 bar.
Third drawback: in case of a puncture, the inside of the tire gets messy, and you end up with sealant everywhere. Fortunately, this is quite rare—but it does happen!
Last drawback: the sealant dries out and evaporates over time and must be checked regularly. I recommend topping it up every 6 months.
Tips and tricks
It’s normal to struggle when mounting your first tubeless tire, especially if you don’t have a compressor. Here’s a small trick: you can use an inner tube to seat one bead of the tire. Then, using tire levers, remove only one bead from the rim (as if fixing a puncture), making sure the other bead stays in place. Remove the tube, reinstall the tubeless valve, and remount the tire. Add some sealant—and this time, when inflating, you already have an airtight seal on half the tire, which makes the process much easier.
I’ve often used this technique with tires that were a bit loose on the rim. Modern tubeless rims are now designed with a tighter initial fit, which greatly simplifies installation. With my DUKE carbon rims, I can mount my tires using only a floor pump without any issues.
If a tire is particularly stubborn, don’t hesitate to go to a car garage or bike shop and use a compressor. You’ll just need a small Presta-to-Schrader adapter.
You can add sealant either before or after seating the tire on the rim. Once properly mounted, the beads stay in place even when fully deflated. If you have a compressor, I recommend adding the sealant afterward—it’s cleaner. Without a compressor, it’s better to add it beforehand, as the liquid helps with sealing and makes it easier to seat the tire.
There are two schools of thought for adding sealant: some people pour it directly into the tire before mounting the second bead. Personally, I use a syringe to inject the sealant through the valve after removing the valve core. It’s more precise and much cleaner.
In this case, using a valve core remover is essential. It only costs a few euros, and you won’t regret the investment!
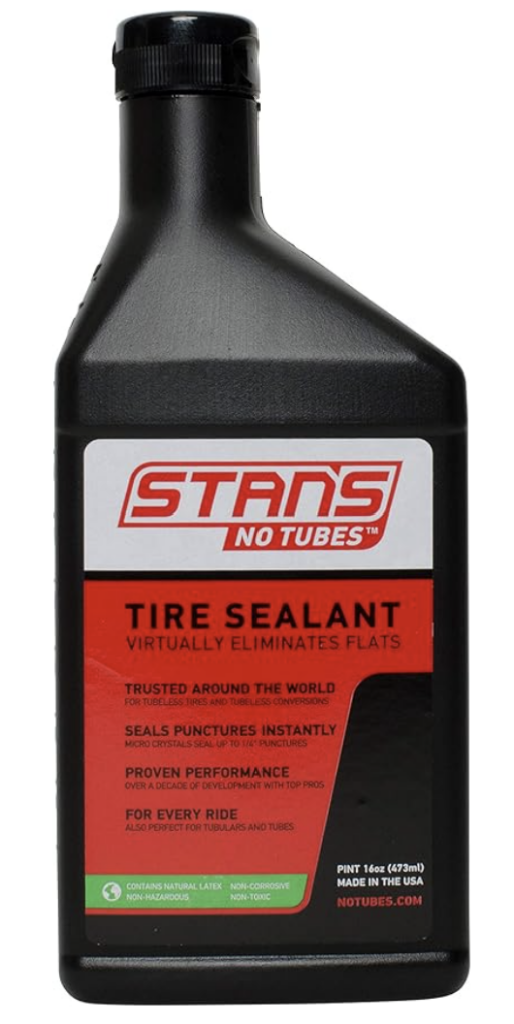
Choosing the right sealant: try different ones and see what works for you. Personally, I use Stan’s NoTubes. Be aware that sealant viscosity must match your usage. There are specific sealants for road applications, which are more viscous and designed for higher pressures (5 to 7 bar).
Check your valve regularly. In case of a major puncture, you’ll need to remove it to install an inner tube, so make sure the threads aren’t seized or overtightened.
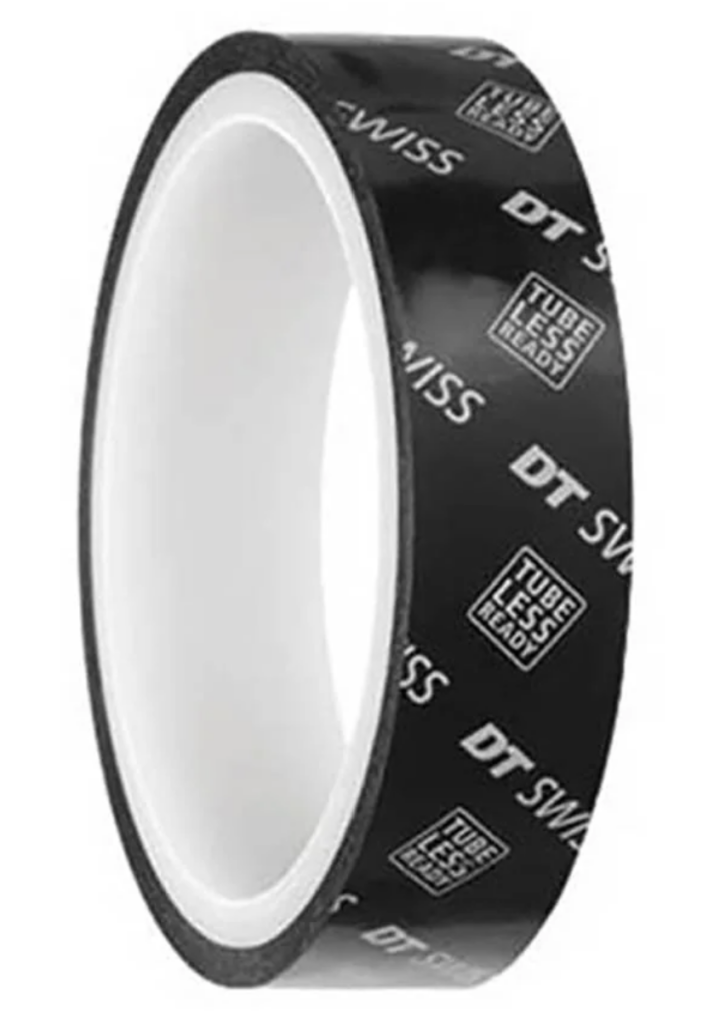
When changing your tire, carefully check the condition of your rim tape. Pay special attention to any signs of peeling. An airtightness issue here can be very annoying, as sealant may leak into the rim and through the spoke holes, contaminating the inside of the rim. I’ve been using DT SWISS rim tape for years with great results. Make sure the tape width matches your rim’s internal width—generally 2 to 3 mm wider.
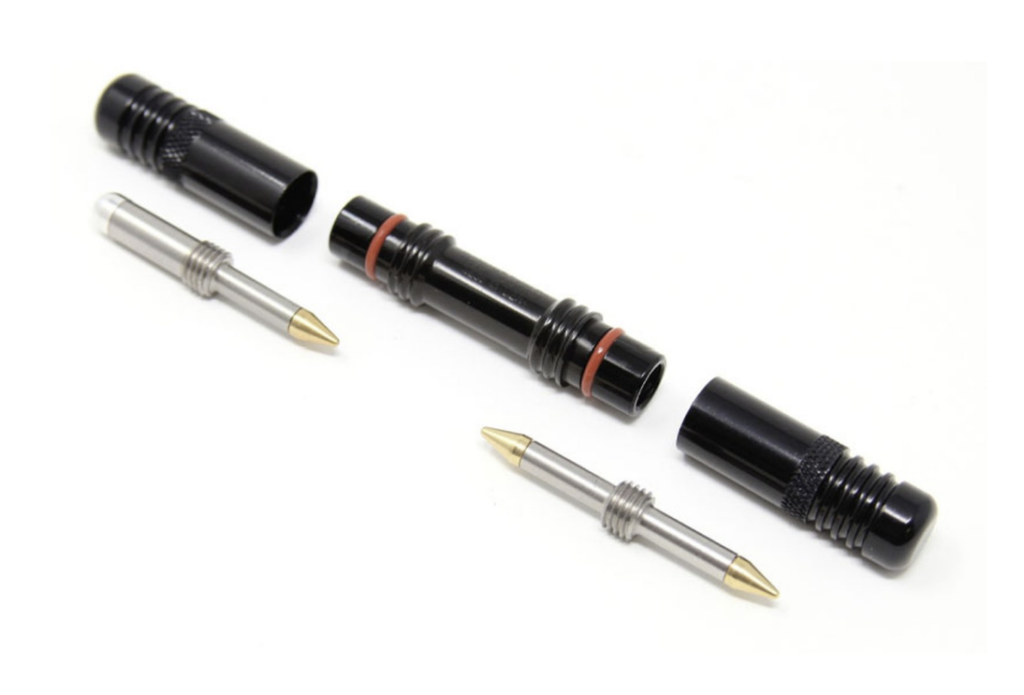
For repairs, I always carry a plug kit with a DYNAPLUG tip on my rides. Lightweight (55 g) and compact, this kit allows you to seal fairly large holes. The plugs are equipped with a brass tip that prevents them from pulling out. The main advantage is that you can repair the tire without removing anything! It has helped me rescue a few friends more than once.
Conclusion
If you ride mountain bikes regularly and are looking for comfort, performance, peace of mind—and you’re willing to spend a bit of time setting up your bike—then tubeless is for you. Take the leap: you won’t regret it, and like me, you’ll never go back.
On the other hand, if you ride only occasionally, change tires frequently, value simplicity, and don’t have access to a compressor, then sticking with inner tubes may be the better choice.
I hope this article and these tips, based on several years of practice, have been useful to you. Feel free to share your comments!
Sounds really interesting! I’ve been considering switching to tubeless for my bike, it’s great to hear about someone’s real-world experience after so many kilometers.